top of page


20200511_181407

20200513_185212

20220324_225335

20200511_181407
1/12
AusRail Cab Sim MkII - 2022
Welcome to AusRail.
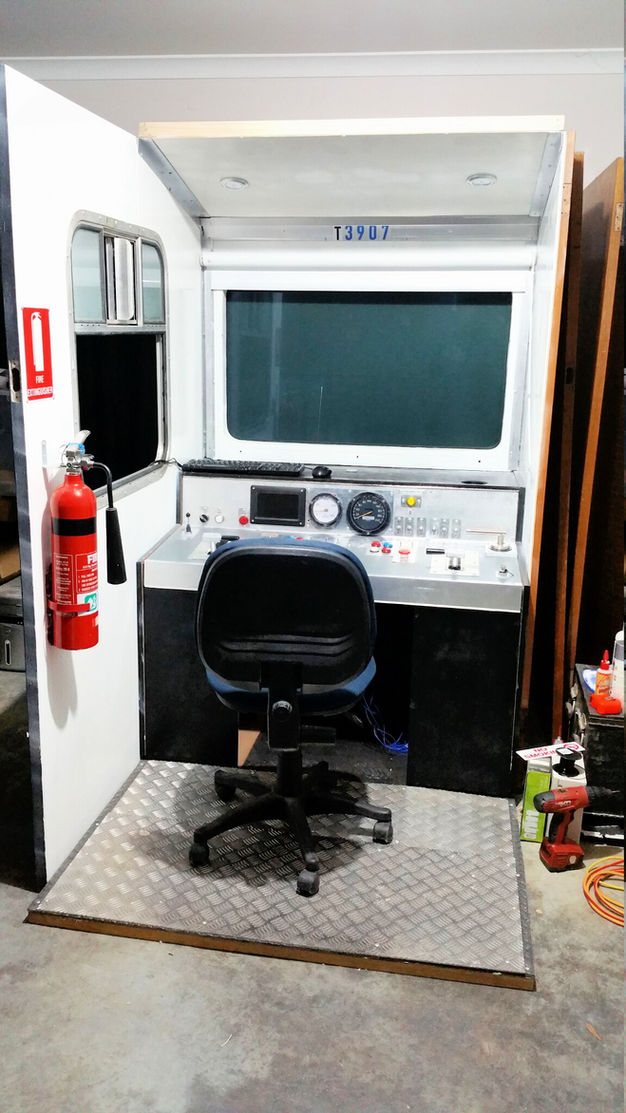
This is my blog/news site for my upgraded AusRail Cab Sim MkII, a simulated cab environment for BVE 5 and OpenBVE. The Mk1 Cab has been refined and built upon since early 2020.
"It is my vision to design and build a working loco cab interface, providing a much enhanced, immersive simulation experience than offered by current train sim controllers.
This system will feature the Arduino Leonardo programmable USB micro processor boards, along with switches, push buttons, rotary switches, LEDs, gauges to facilitate the simulated control system." - 2016.

Recent Posts


Archive


It's been a while, but there has been progress ...
Recent developments in the progress of the cab include: - New metal faceplate for the gauges & switches - Switch protection barriers -...


Roof framing and additional fluorescent cab lighting.
Some basic 'roof' framing is taking shape. Rough positioning of the fluorescent cab lighting. I am using a defunct emergency exit light...


She's alive! Basic interfacing begins... First moments with TV installed. **Videos below**
Keyboard and mouse ready for first PC power up on the freshly installed display. A side display will be added at a later date, when the...


Fire Extinguisher added
I am starting to add some more authentic 'detail' to the cab environment. Today I had a CO2 fire extinguisher (electrical fires), wall...


Side window install
Freshly cut 2nd panel 2nd panel with the window sitting in situ. 1st panel freshly cut. 1st panel back in place, ready for reattachment...


Interfacing Leonardo with PC
Above is a quick demonstration of the Arduino Leonardo interfacing with OpenBVE Train Simulator (PC). The push button is triggering the...


We have some walls!
A bit of work has been done in the last week or so, in between family life and work. The Aluminium rails that run at an upwards angle...


Window frame
Hmm ... forgot to solder those wires :p Framing up the front window. One side complete. The window frame has two holes on the underside...


Side panels & paint
What a mess! Cup/Mug/Stubby holder ;) Added some MDF side panels & paint Perfect! Next, paint side panels & commence work on 'window frame'.
Home: Welcome
Home: Blog
Home: Contact
Home: GetSubscribers_Widget
Get in Touch
bottom of page


